1. Determine location & Cut out cavity
Place the wall niche into the desired position. We recommend installing the niche in the center of the two studs (if necessary). Next, mark the outlines or cutlines on the wall using a pencil. Carefully cut out the cavity using a saw or angle grinder. Ensure that you have enough depth in the wall to accommodate the niche. Our recessed wall niches are available with 10 cm (4″) and 7 cm installation depth.
2. Clean work area & apply sealant
Before starting the installation process, check if the work area is clean. Make sure that the surface is free of adhesion-reducing substances. Apply sealant on the wall to fasten the built-in set. Insert the built-in set to enable a complete waterproof installation.
3. Apply self-adhesive waterproofing membrane
Before applying the sealing membrane, ensure that all surfaces are clean and free of adhesion-reducing substances (e.g. dust, acid, grease). Start with the application of the vertical self-adhesive membrane and finish with the horizontal membrane, so both membranes overlap.
4. Apply sealing compound
The next step is to embed the waterproofing membrane in the flexible sealing compound. Note: When installing a T-BOX or C-BOX bathroom wall niche, follow the steps in the installation manual before applying the sealing compound. These wall niches have a variable installation depth and need to be adjusted accordingly.
5. Start tiling
Once the compound tile adhesive has dried, tile the walls around the niche. The tiles can overlap the flange of the built-in set.
Note: When installing a T-BOX (tileable) wall niche, consider the protective installation cover, and ensure that the maximum tile thickness is 13 mm.
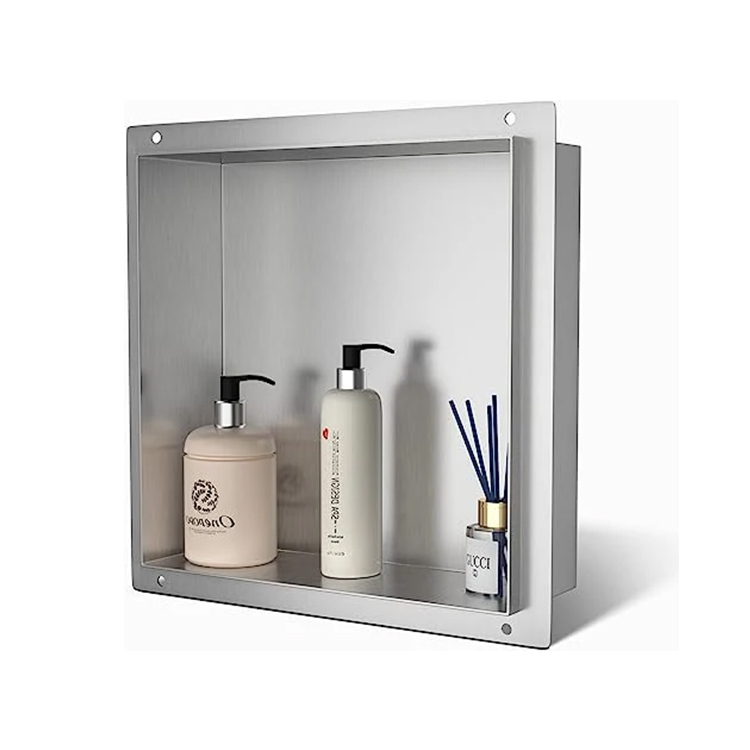
6. Insert wall niche
Apply sealant to the back flange of the wall niche and insert this part into the built-in set to fixate it securely in place.